Step-by-step guide to configuring the Victron ESS: self-consumption with a battery and the MultiPlus-II

ESS (Energy Storage System) is the operating mode of the Victron for grid-connected self-consumption with a battery: The MultiPlus-II uses solar power and the battery to meet energy demand, drawing only the shortfall from the grid and, if configured to do so, feeding surplus energy back into the grid. This guide walks you through the complete configuration process using a typical system: MultiPlus-II 48/5000, Cerbo GX, SmartSolar MPPT and a 48 V lithium battery (Pylontech, Pytes or ZYC).

What you need

  • MultiPlus-II (or Quattro) inverter-charger with updated firmware.
  • GX device (Cerbo GX, Ekrano GX) with an internet connection for VRM.
  • MPPT controller connected to the GX via VE.Direct or VE.Can.
  • Battery with CAN communication (recommended) or manual voltage profile.
  • Optional grid meter (single-phase Energy Meter ET112, ET340 or three-phase EM24) if there are loads that do not pass through the inverter.
  • A computer with VEConfigure (VE Configuration Tools package) and an MK3-USB cable, or remote configuration via VRM.

Step 1: Firmware and communication

  1. 1. Update the MultiPlus-II firmware to the latest version (VictronConnect or VRM → Remote Configuration).
  2. 2. Connect the MultiPlus-II to the GX via the VE.Bus port using a straight-through RJ45 cable.
  3. 3. Connect the battery to the GX’s VE.Can/BMS-Can port using the CAN Type A cable and set the port speed to 500 kbit/s. The battery should appear in the GX’s device list.
  4. 4. Active DVCC in GX (Settings → DVCC → Enable). See DVCC guide.

Step 2: VEConfigure, General and Network tabs

  • Network code: Select the option corresponding to Spain (in recent versions, “Spain” / in accordance with current connection regulations; in older installations, “Other” was used with manual settings). An installer password (Victron) is required; if you do not have one, please open a support ticket and we will provide it to you upon purchase of the equipment.
  • Switch off the “UPS function” if you are going to use a generator; for normal mains power, it can remain switched on.
  • AC input voltage: default range 180–265 V.

Step 3: ‘Loader’ tab

For lithium batteries with CAN communication, the exact values are set by the BMS via DVCC; however, it also configures safe values:

  • Battery type: Lithium.
  • Absorption: 52,0 V (Pylontech/Pytes/ZYC); flotation 51,0 V.
  • Charging current: the maximum current supported by the battery bank (for example, 100 A for two Pylontech US5000 units). With DVCC, the BMS will reduce this if necessary.
  • No CAN communication: absorption 52.5 V, float 51.5 V, absorption time 1 h, low-voltage cut-off 47 V.

Step 4: ESS wizard

  1. 1. ‘Wizards’ tab → Add → ESS (Energy Storage System).
  2. 2. Battery type: “Lithium with other type of BMS” or “Lithium with Victron BMS”, as applicable.
  3. 3. Low-voltage cut-off voltage (sustain): 48 V for 48 V lithium.
  4. 4. Dynamic reset voltage: leave at the default setting.
  5. 5. Save and send the settings to the inverter. The inverter will restart.

If you have an external network meter, you don’t need to do anything in VEConfigure: it’s configured on the GX.

Step 5: ESS settings on the Cerbo GX

Settings → ESS:

  • Mode: “Optimised (with BatteryLife)” for everyday use; “Optimised (without BatteryLife)” if you want to get the most out of your battery every day; “Keep batteries charged” for backup only.
  • Network measurement: “Inverter/charger” if all loads are connected to the AC output; “External mains meter” if there are loads upstream of the inverter.
  • Minimum SOC (discharge): 10–20 % for lithium. Keep some in reserve if you want a backup in the event of power cuts.
  • Limit network injection: Select “No feed-in” for self-consumption with no surplus, or set the maximum authorised power.
  • Limiting the inverter’s power output: optional, for example, to ensure that the contracted power is not exceeded.
  • Network point adjustment: 30–50 W to prevent oscillations; when the reading is zero, the system attempts to achieve exactly 0 W of power exchange.

Step 6: MPPT and solar priority

With DVCC and MPPT enabled on the GX, the system automatically prioritises: solar → loads, then the battery, then the grid (if permitted). Check on the GX that the MPPT is shown as “Charging” and that the battery is receiving current from it. If you want the MPPT to feed into the grid, enable “Feed-in excess DC-coupled PV” under Settings → ESS.

Step 7: Check in VRM

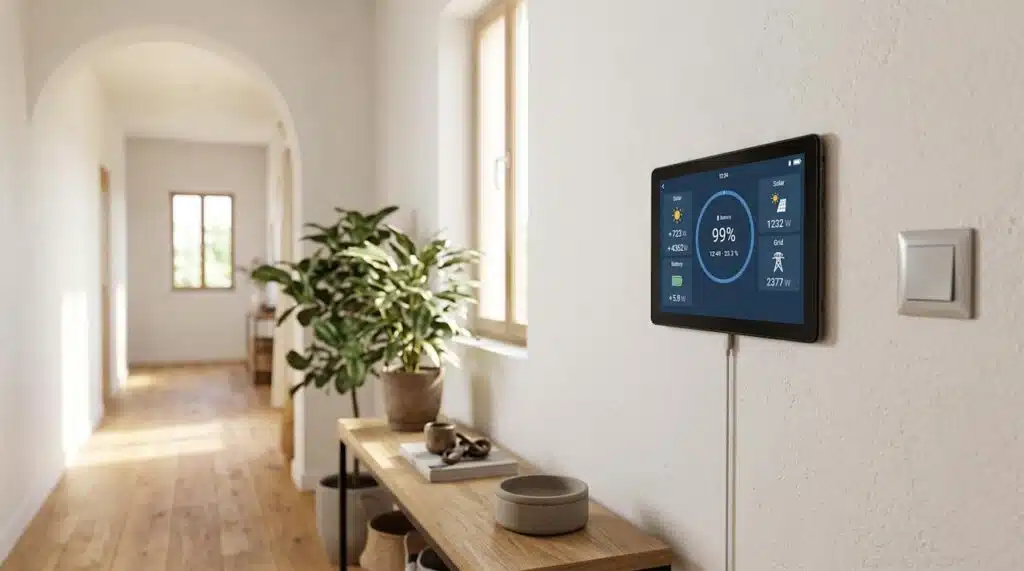
On the VRM dashboard, you should see: solar generation, consumption, battery status (SOC and current) and grid flow. A properly configured ESS keeps the power exchange with the grid close to 0 W during the day and discharges the battery at night down to the minimum SOC.

Common problems

  • The inverter draws power from the grid even when the sun is shining: MPPT is not enabled on the GX, or ESS mode is set to “Keep batteries charged”.
  • It is posted online despite the message “No injection”: The meter is set to “Inverter/charger”, but there are loads before the inverter; fit a mains meter.
  • #67 or battery with no data: CAN communication. See VE.Bus and #67 errors.
  • The battery never reaches 100 per cent on the %: With BatteryLife, the system raises the minimum SOC if it is unable to charge the battery fully; this is normal in winter.
  • Grid lost / the inverter is not accepting the grid: Incorrect network code or voltage out of range.

For the specific features of each battery: Pylontech US5000 with MultiPlus-II y ZYC SIMPO 5000 with Victron. If your home already has a Fronius inverter, take a look Fronius AC coupling + Victron.

We are authorised Victron Energy installers and provide free technical support for equipment purchased from FV Componentes. If the problem persists, please open a ticket at Technical support including the model, serial number and the link to your VRM installation. You can find diagrams and parameters on our Victron Resource Centre.

Share this post:

Other blog entries