Installation of ZYC SIMPO 5000 batteries: cabinet, wiring and commissioning
Author: David Conesa Albaladejo
Publication date: 8 September 2026
Last updated: 8 September 2026
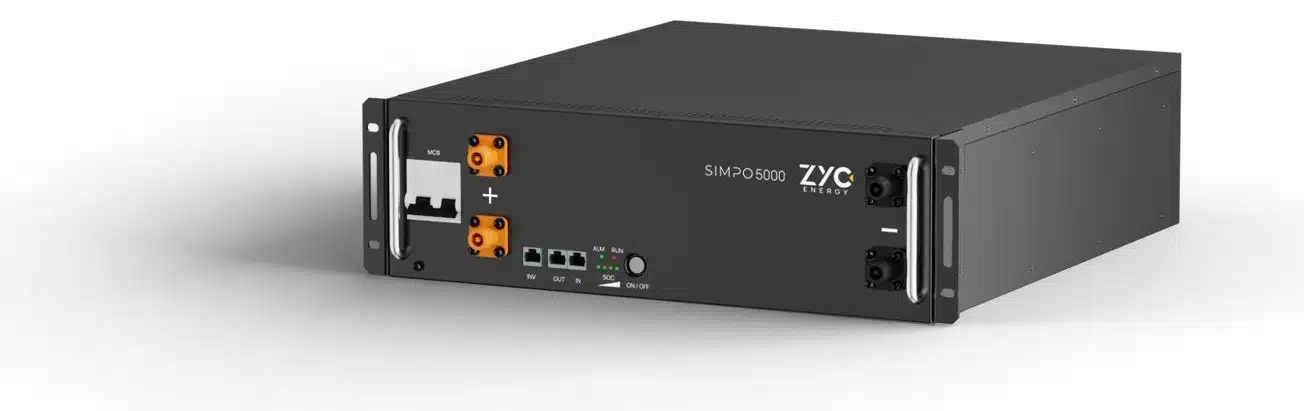
Assembling a bench ZYC SIMPO 5000 There’s no great mystery to it, but there are details that make the difference between a system that lasts ten years and one that starts playing up by the second winter. This is what the manufacturer’s manual says, organised in the way it’s done on site.
1. Where is the bank heading?
The SIMPO 5000 is IP20: It goes indoors, always. Site requirements:
Soil levelled, without any slope or unevenness.
A clean, low-dust environment.
No direct sunlight, rain or snow.
Well ventilated (cooling is natural; it has no fans).
Keep away from children and animals.
If there is salty air —coastal, nautical— the air must be filtered to prevent salts from settling on the battery.
Keep an eye on the weight: each module weighs 44 kg. A 10-unit cupboard with all its modules weighs over 450 kg. Check the floor structure before deciding where to place it.
2. Cupboard or tower
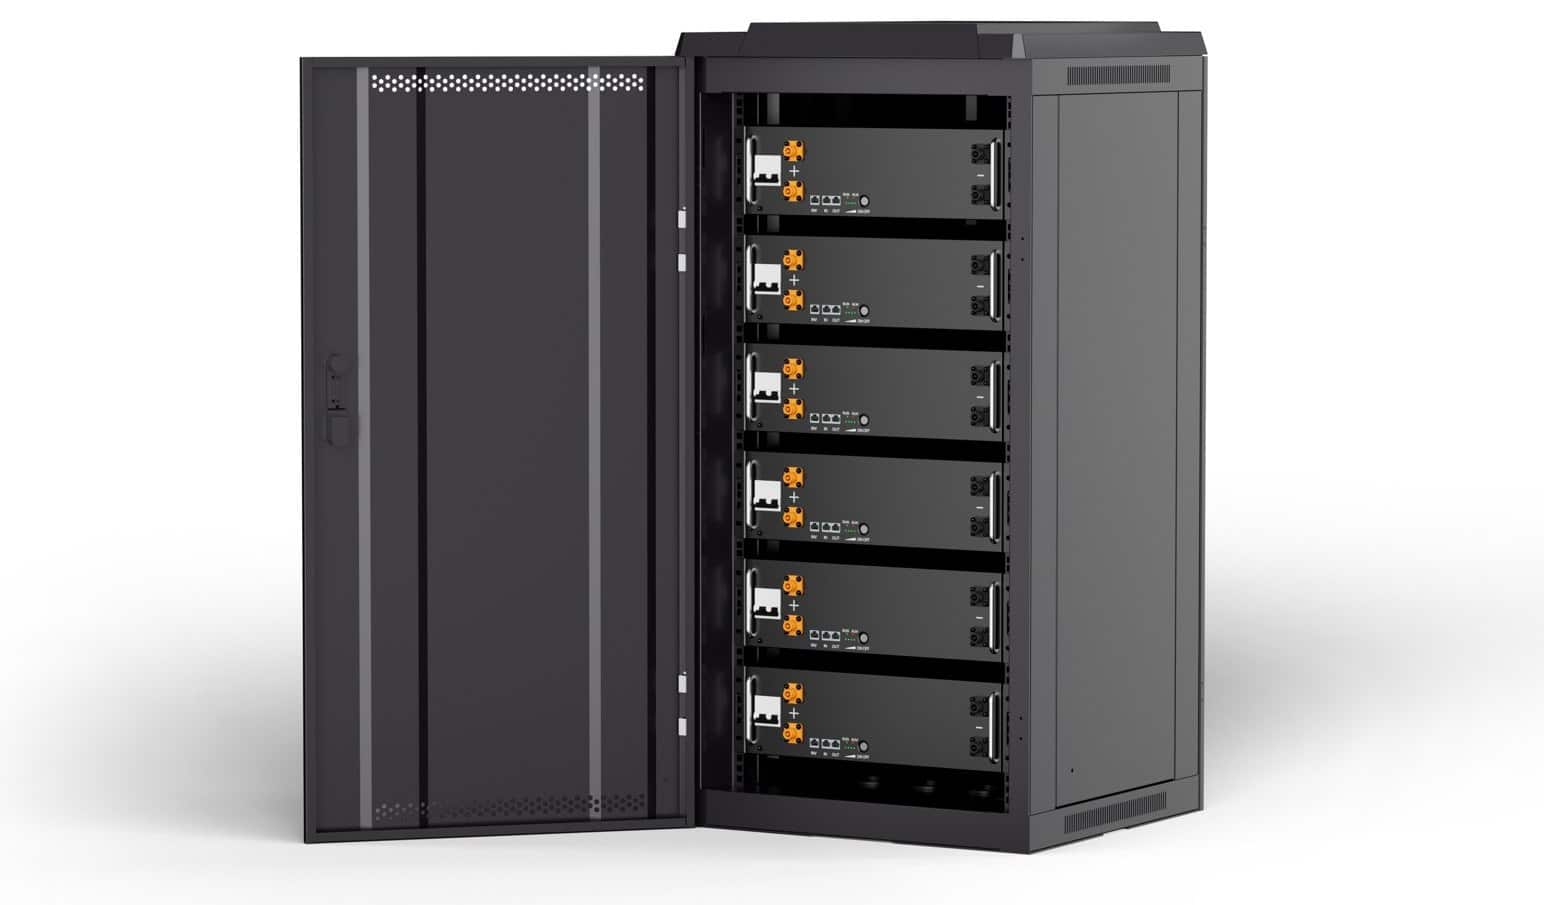
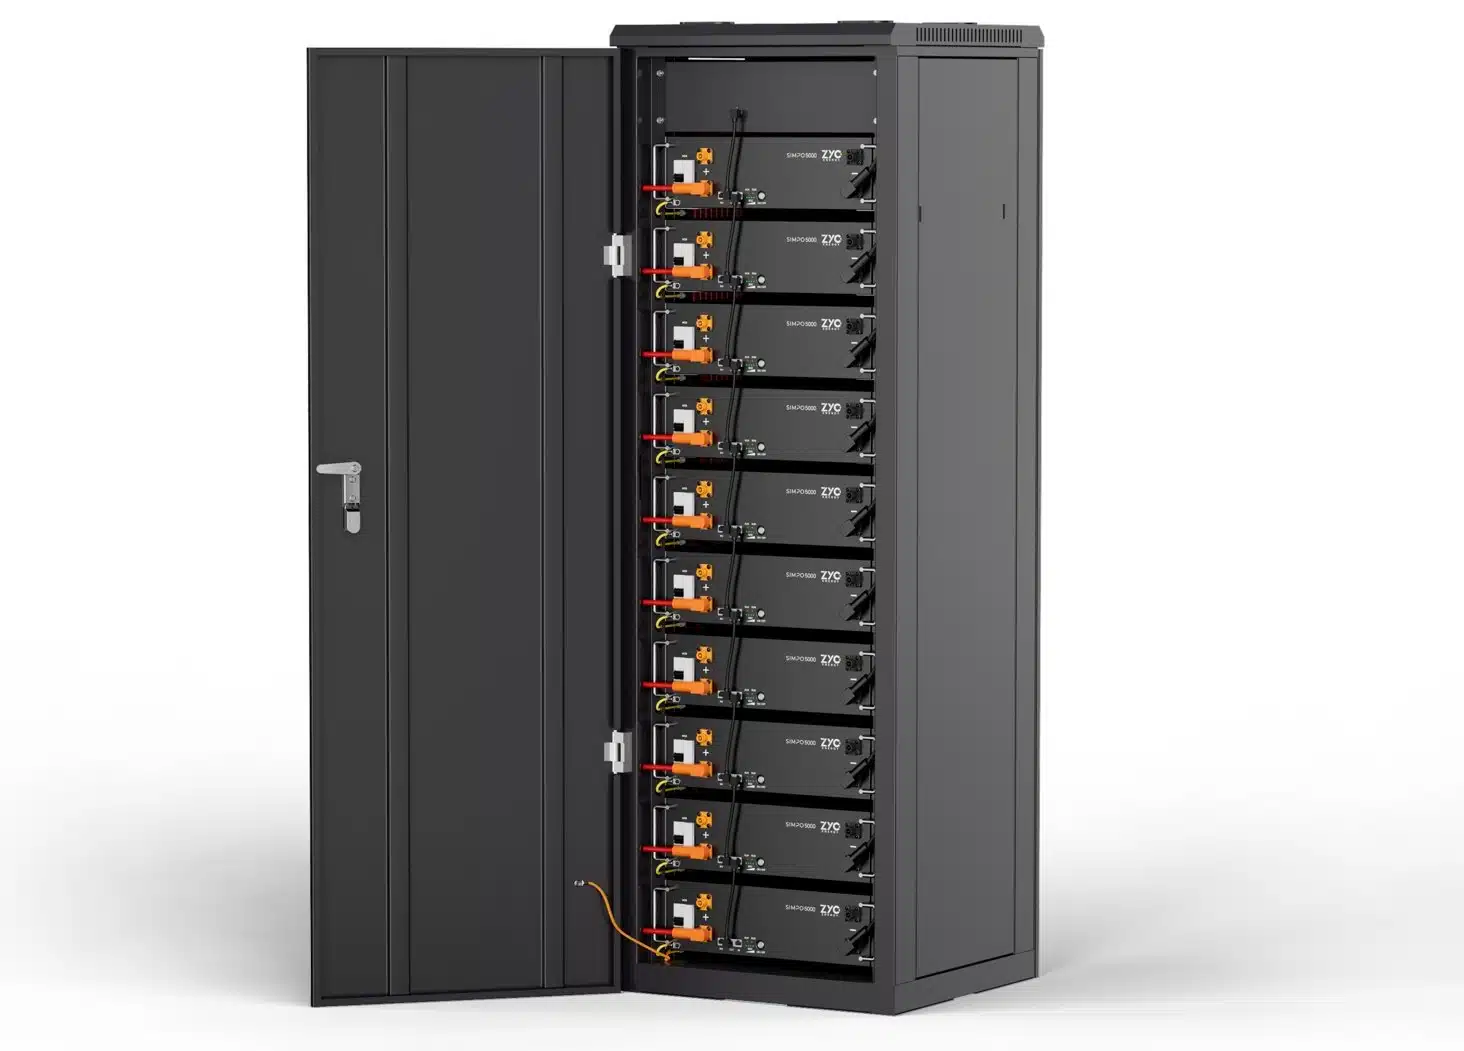
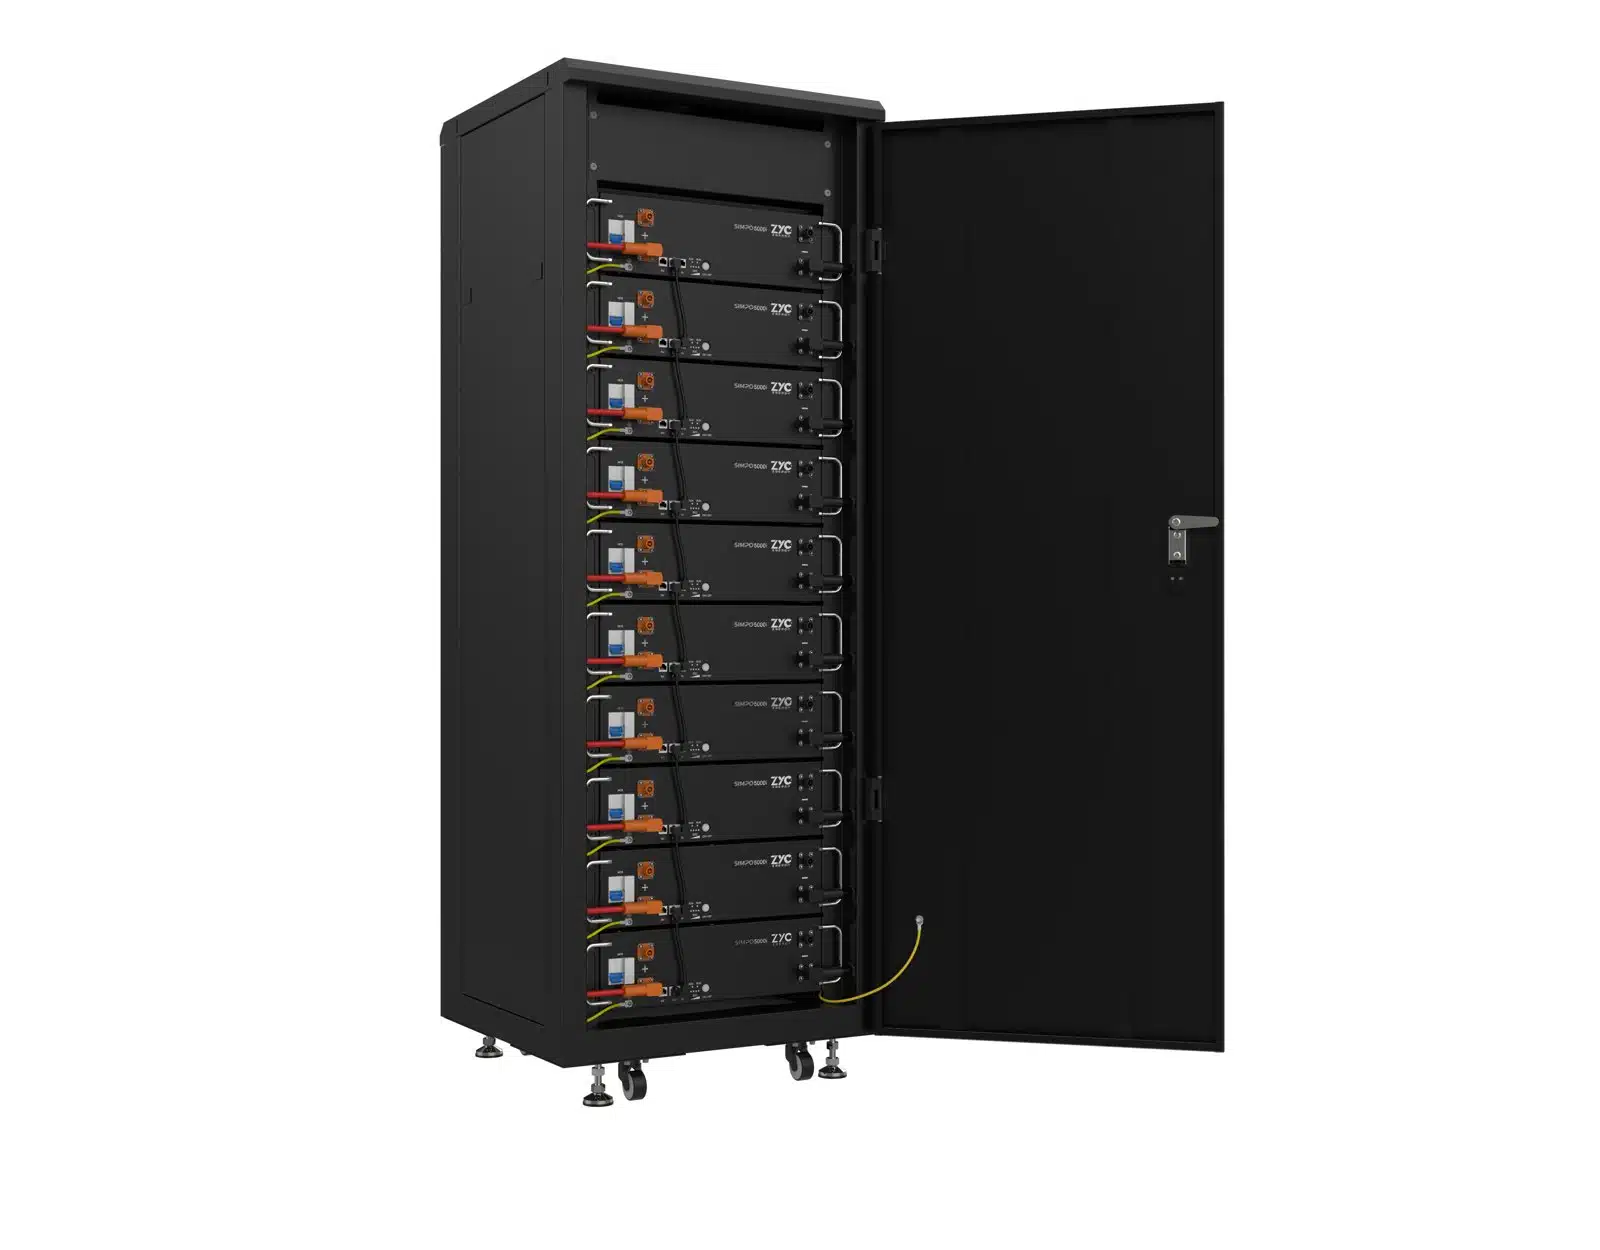
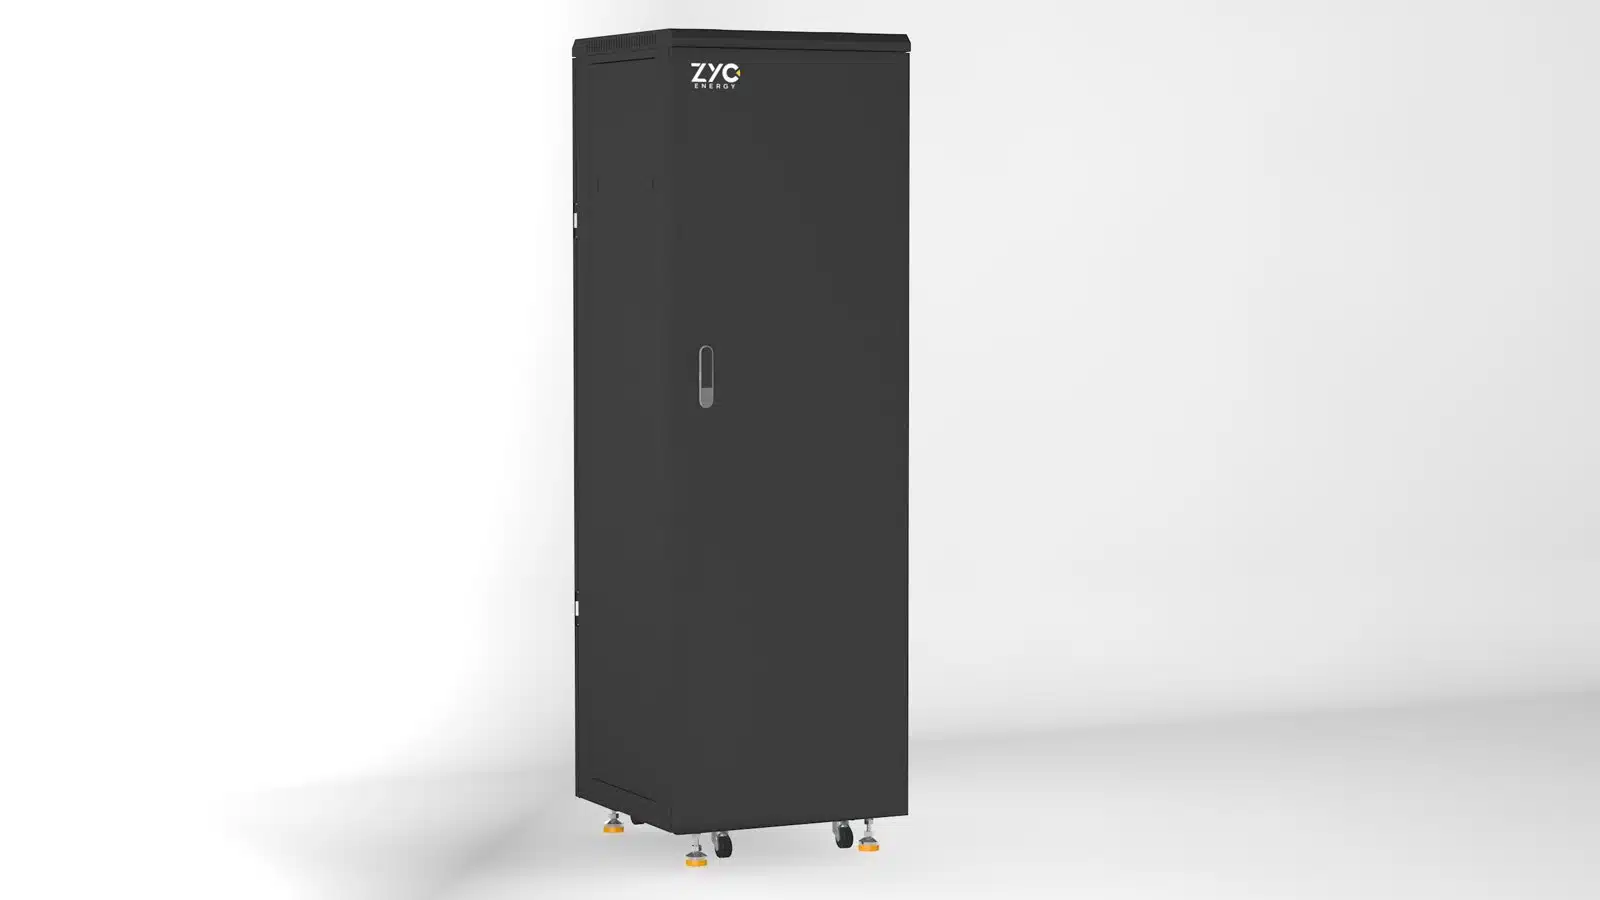
The modules are designed for a 19-inch rack, 600 mm deep. ZYC offers two factory-pre-wired cabinets: the SIMPO Cabinet 6 (up to 6 modules, 30.7 kWh) and the SIMPO Cabinet 10 (up to 10.51.2 kWh). You can also mount the modules on a third-party rack or stack them with the SIMPO floor stand.
The cupboard is being wired up before to put it back in its place and before To fit the batteries: open the panels, connect the power terminals and the earth cable, and then move it into position.
SIMPO Cabinet 6: up to 6 modules and 30.7 kWh, with factory-fitted busbar and cabling.
3. Cables and tightening torques
The power cables to the inverter are not included. The cross-section depends on the system’s power rating:
System power
1 pair of cables
2 pairs of cables
10 kW
≥ 70 mm²
≥ 35 mm²
20 kW
≥ 120 mm²
≥ 70 mm²
30 kW
—
≥ 95 mm²
40 kW
—
≥ 120 mm²
50 kW
—
≥ 150 mm²
Terminals: SC xxx-12 for the 10- and SC xxx-10 for the 6, where “xxx” is the conductor section. And the other installation parameters:
Fact
Value
Weight per module
44 kg
Dimensions (W × H × D)
482 × 134 × 518 mm (19″ rack format)
Required cupboard depth
600 mm
Tightening torque for power cables — Cabinet 10
20 N·m
Tightening torque for power cables — Cabinet 6
15 N·m
Tightening torque for the earth cable
5 N·m
Earth wire (PE)
≥ 25 mm² with SC35-6 terminal
Communication cable
Shielded Cat5 or higher, max. 5 m
Degree of protection
IP20 (indoor installation)
Maximum altitude
2,500 m
Whether you’re setting up with no cupboard or with several cupboards side by side, there’s one rule you simply can’t break: All power cables must be the same length. If one module has a longer cable than another, its impedance is higher, it delivers less current and the array becomes unbalanced.
4. Insert the batteries
They are being installed from the bottom up, sliding them along the guides on each level. Two people per module: 44 kg is not something you can handle on your own, especially at chest height. Minimum equipment: safety footwear, insulated gloves, safety goggles, a torque wrench, a multimeter and a fire extinguisher to hand before you start.
5. Several cupboards side by side
When a wardrobe isn’t enough:
The communication cable comes out of the port OUT from the bottom row of the first cupboard and enters via the port IN from the lower battery of the second one, passing through the hole provided.
The connection runs from the second cupboard to the third cupboard from above, not from below.
The finishing resistance It is plugged into the OUT port of the last module in the assembly.
The power cables from all the cabinets lead to a DC combination box and from there to the inverter, with approximately equal lengths.
First the earth cable, then the power cable, and finally the communication cable between the master battery and the inverter.
Manufacturer’s maximum: 80 modules in parallel on an inverter, and 64 when several cupboards are combined.
6. Commissioning
Check all the wiring and make sure the connections are secure.
Switch on the DC switch between the battery and the inverter, if fitted.
Turn on all the circuit breakers in the modules.
Check that the terminating resistor is fitted.
Press the ON/OFF button on the master drum kit for 1 second.
Switch on the inverter.
To switch it off, do the reverse: first the inverter, then the DC switch, then hold down the ON/OFF button on the master unit 3 seconds and check that the LEDs go out.
Important: If the system stops or loses its power supply, you must turn off the switch batteries. Leaving them connected whilst they slowly discharge is the most common way to ruin a new battery bank.
The SIMPO 5000 does not require frequent maintenance. An annual service is sufficient:
Check the status LEDs.
Check that all connections and cables are still secure and undamaged.
Check that there are no obstructions around the cupboard.
Check that there are no animals or insects nesting inside or nearby.
Remove any items that have accumulated in the cupboard.
If the bank is going to be out of action for six months or more, you need to keep an eye on your blood pressure: if it’s above 51.6 V That’s fine, and it’s enough to check it every three months; if the voltage is lower than that, you’ll need to recharge it, otherwise the damage could be irreversible. The recommended recharge is at 55 V DC and a constant 10 A for around 30 minutes.
9. Operating temperatures
Load of -10 °C to +55 °C and download from -20 °C to +55 °C. That sub-zero discharge capacity is what sets this battery apart from most LFP batteries on the market, which stop working at 0 °C, and is why it is a sensible choice for shelters, unheated industrial buildings and pump houses. We compare it in detail in ZYC SIMPO 5000 versus Pylontech US5000.
A practical guide to connecting ZYC SIMPO 5000 batteries to a Victron inverter: VE.Can cable, CAN pins, start-up sequence, communication-free mode and official charging voltages.
Table showing the minimum battery configuration for the ZYC SIMPO 5000 by inverter model: Victron, Deye, SMA, Studer, Goodwe and Solis, for both grid-connected and off-grid installations.
We compared the ZYC SIMPO 5000 battery with the Pylontech US5000, using the specifications: usable energy, cycle life, cold-start capacity, scalability and compatibility. And where Pylontech continues to come out on top.
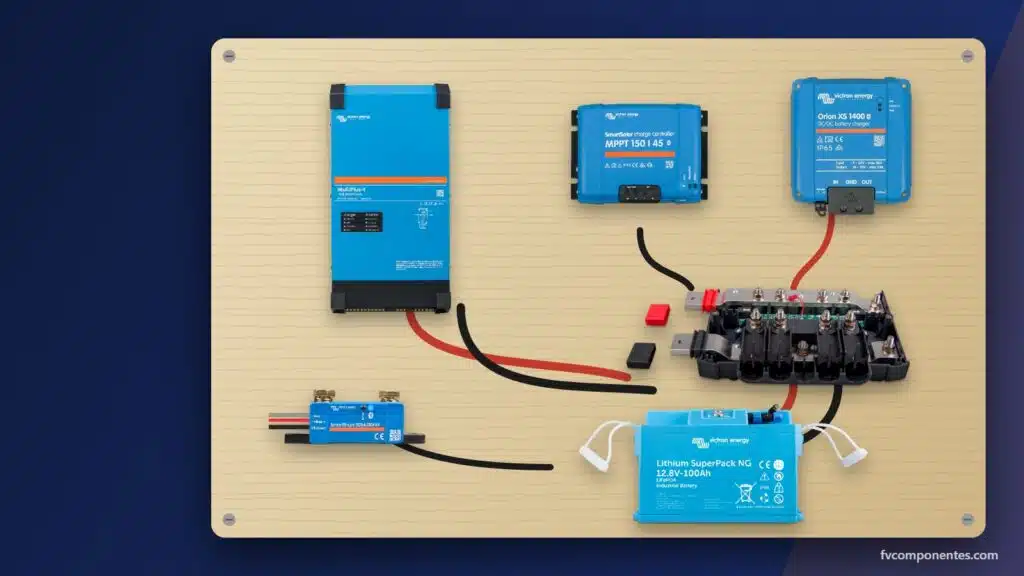
Victron campervan electrical system pre-fitted to a panel: inverter, lithium battery, Orion XS booster, charger and MPPT – all wired, protected and configured. Schematic diagram, sizing, 220 V, type approval and indicative prices.
We use our own and third-party cookies to obtain statistical data on our users' browsing habits, offer personalised marketing and improve our services.
Functional
Always active
The storage or technical access is strictly necessary for the legitimate purpose of enabling the use of a specific service explicitly requested by the subscriber or user, or for the sole purpose of carrying out the transmission of a communication over an electronic communications network.
Preferences
The technical storage or access is necessary for the legitimate purpose of storing unsolicited preferences of the subscriber or user.
Statistics
Technical storage or access that is used exclusively for statistical purposes.Technical storage or access that is used exclusively for anonymous statistical purposes. Without a request, voluntary compliance by your Internet Service Provider, or additional records from a third party, information stored or retrieved solely for this purpose cannot be used to identify you.
Marketing
Technical storage or access is necessary to create user profiles to send advertising, or to track the user across a website or across multiple websites for similar marketing purposes.