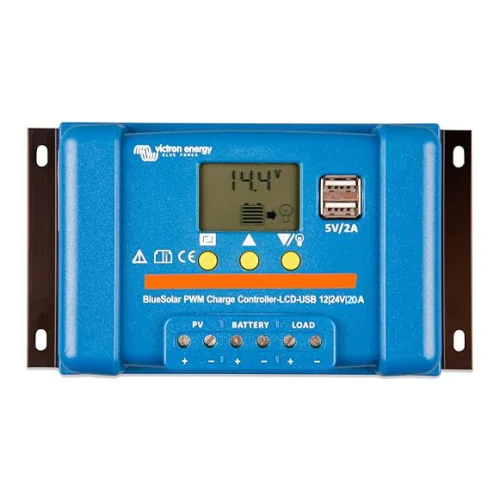
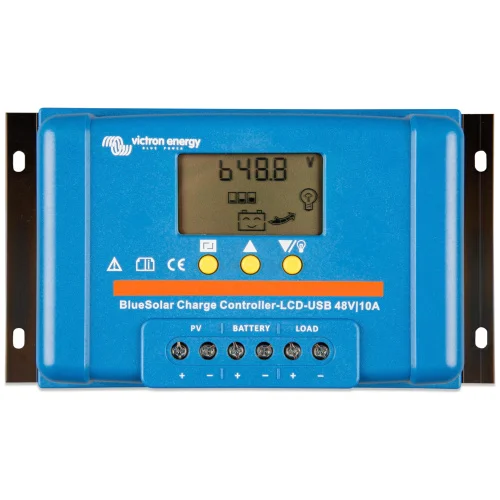
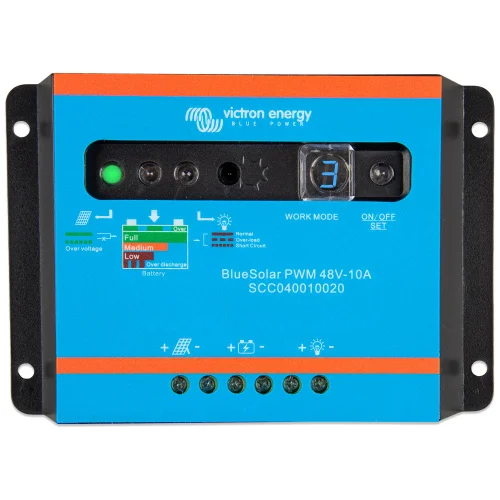
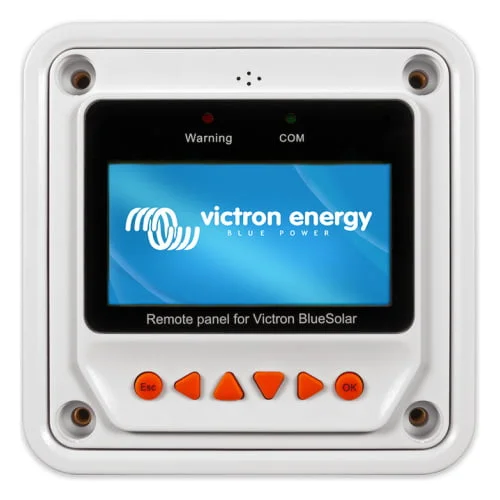
- Envío gratuito a península a partir de 300€
Reguladores de carga solares
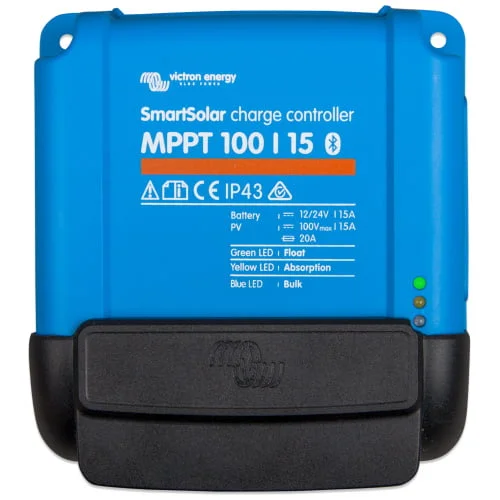
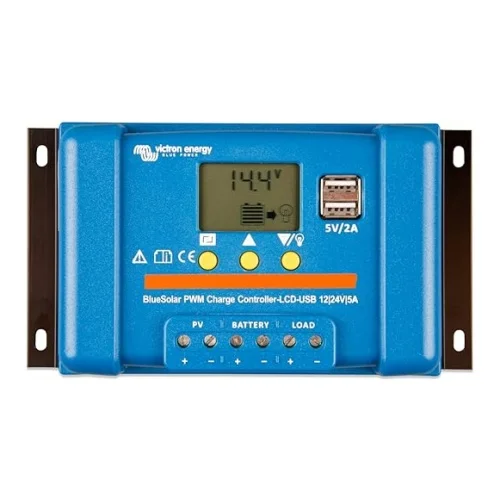
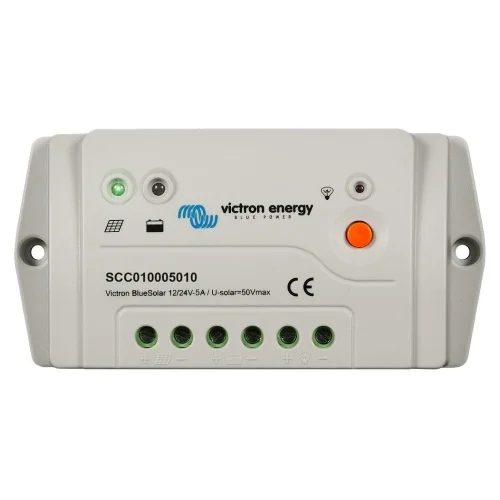
Compra tu cargador solar victron – cargador mppt victron – cargador pwm victron al mejor precio en nuestra tienda online especializada en Victron Energy. Si tienes dudas de como configurar tu inversor cargador Victron puedes contactar con nosotros o contratar el soporte técnico remoto Victron. Recuerda que también podemos ofrecer soporte técnico Mastervolt y aconsejarte sobre tu instalación.
Que es un regulador de carga solar
Los reguladores de carga solar van instalados entre los módulos fotovoltaicos y la bateria para controlar el estado de carga de la propia batería. Para tensiones de 12V y 24V es necesario disponer de un regulador de carga solar para controlar la carga y la descarga de la batería o el acumulador que tenemos en la instalación fotovoltaica. En FVComponentes.com tenemos dos tipos de reguladores de carga: regulador de carga solar mppt y regulador pwm.
Modelos de regulador de carga
Un regulador de carga es un dispositivo encargado de regular la cantidad de energía que almacenan las baterias. Puede funcionar de forma independiente o bien integrado en un inversor. Un regulador de carga solar mppt o regulador solar pwm controlan y protegen las baterías en un sistema fotovoltaico, evitan que se den sobrecargas y sobredescargas, y se asegura un uso eficiente de la energía.
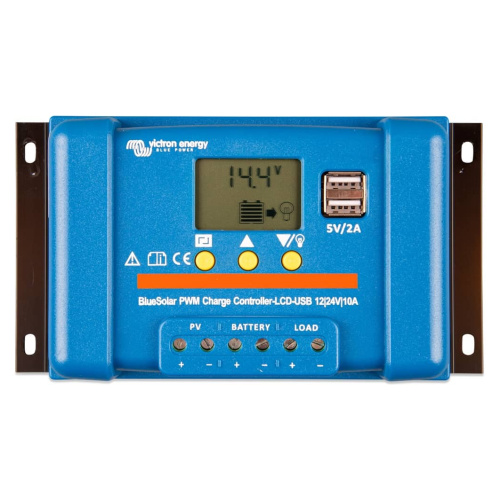
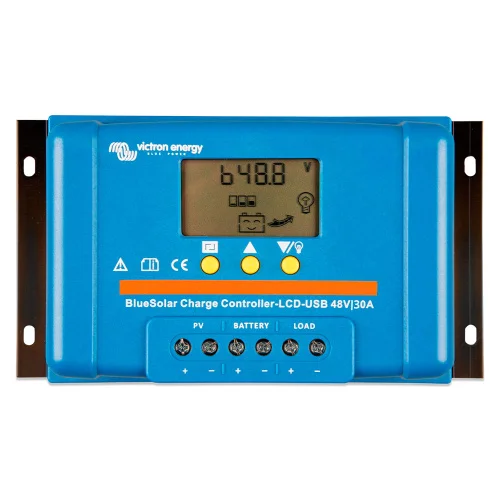
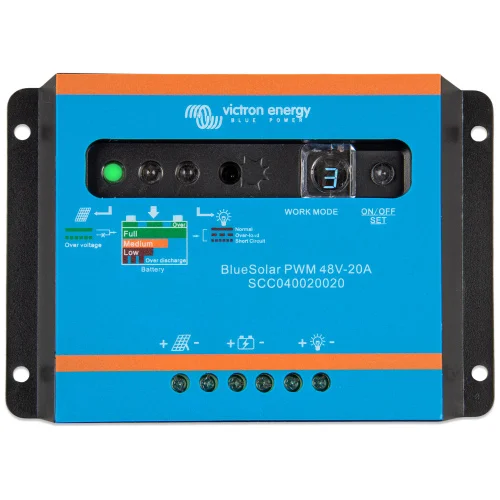
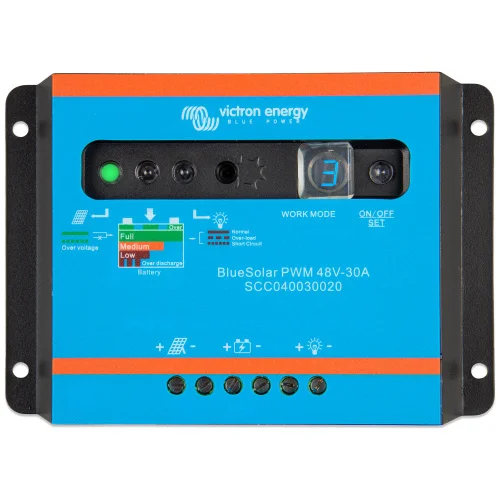
Regulador de carga pwm
Este regulador de carga solar solo actúa de corte de paso de energía entre los paneles solares y las baterías cuando tiene una carga completa. Para que este regulador de carga victron funcione correctamente, las placas solares y las baterías de la instalación fotovoltaica deben tener el mismo voltaje.
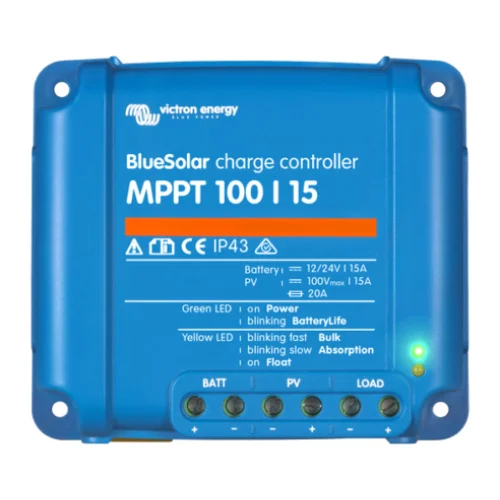
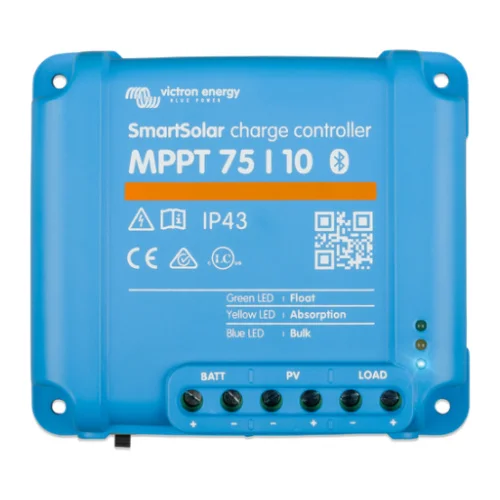
Regulador de carga mppt
Este regulador de carga solar mppt corta el paso de corriente de los módulos fotovoltaivos cuando la batería está completamente cargada. Además, un regulador solar mppt es capaz de adaptar el voltaje de salida del módulo fotovoltaico al voltaje de la batería; por lo que podemos tener en un mismo sistema por ejemplo, placas solares de 12V y batería de 24V.
Los reguladores de carga MPPT presentan tres limitaciones muy importantes a considerar a la hora de elegir el regulador de carga solar que necesitamos.
La primera limitación que nos encontramos en un regulador de carga solar 12v, o cualquier otro voltaje, es la potencia máxima de campo fotovoltaico. Cada regulador fotovoltaico va a limitar la cantidad de W que suman todas las placas fotovoltaicas que tenemos en nuestro sistema. Por ejemplo, si tenemos 2 placas solares de 150W, deberemos tener en cuenta que disponemos de 300W de campo fotovoltaico. fotovoltaico.
La segunda limitación que presenta un regulador de carga solar mppt 24v es que nunca deberemos superar los amperios máximos del regulador placas solares. Para calcular los amperios del regulador que bajan desde las fotovoltaicas se obtiene mediante la suma de todos los paneles solares.
Si se hacen series de 2 o 3 placas fotovoltaicas, hay que sumar el voltaje del regulador y no amperios del regulador, por lo que el amperaje de bajada de un grupo de 2 placas fotovoltaicas será el mismo que si hubiera un panel, pero al doble de voltaje del regulador.
La última de las limitaciones de un regulador mppt es su voltaje de entrada. Normalmente, un mppt tiene un voltaje de entrada más grande que el de un regulador de carga solar pwm, de manera que nos permite tener en serie varias placas fotovoltaicas.
Precio de un regulador de carga solar
Por norma general, un regulador pwm es más económico que un regulador mppt. La diferencia entre regulador mppt y pwm es la que se ha comentado en el apartado anterior, que el regulador mppt es capaz de adaptar el voltaje por lo que no es necesario que las placas y las baterías de una instalación fotovoltaica funcionen a la misma tensión.
Los reguladores de carga solar mppt van de los 40€ a los casi 2000€, mientras que un regulador solar pwm tiene un precio de 16-70€. Cuanto mayor sea la capacidad para manejar corrientes más altas, mayor será el precio del regulador.
Comprar un regulador mppt o un regulador solar pwm
Hay que tener en cuenta estos aspectos a la hora de comprar un regulador de carga solar:
- Tipo de regulador: PWM para sistemas más pequeños y presupuestos limitados. MPPT, perfecto para sistemas más grandes y que necesiten más eficiencia.
- Capacidad de corriente (Amperaje) del regulador: Selecciona un regulador que pueda manejar la corriente máxima que generan tus paneles solares. Es mejor elegir uno con una capacidad mayor para evitar sobrecargas.
- Compatibilidad del regulador mppt o pwm con el voltaje del sistema: El regulador de carga solar debe ser compatible con el voltaje del sistema (12V, 24V, 48V) y con el tipo de baterías de la instalación.
- Tipo de batería soportada: El regulador de carga solar debe ser compatible con el tipo de acumulador que tengas. Debe tener configuraciones ajustables para la carga adecuada.
- Eficiencia y rendimiento del regulador solar: Considera la eficiencia del regulador de carga solar, sobretodo si buscas maximizar la conversión de energía en condiciones de baja irradiación.
- Extras: Un regulador puede incluir características adicionales como pantallas LED o LCD, también protecciones contra sobrecarga, monitoreo remoto o control de iluminación.
Usos de regulador de carga victron
Un regulador de carga solar es una pieza fundamental en cualquier instalación solar fotovoltaica. El 5. regulador de carga se sitúa entre las placas fotovoltaicas y la batería y se encarga de controlar la tensión e intensidad con la que se cargan las baterías. Un regulador de carga batería 12v, o cualquier otro voltaje, son una pieza fundamental ya que cuidan y alargan la vida útil de la batería.
El regulador de carga mppt o pwm también protege los acumuladores frente a sobrecargas o frente a descargas muy profundas. Gracias al regulador solar pwm o mppt , el estado de la batería está controlado en todo momento.
Los mppt y los pwm son unos componentes muy útiles en sistemas fotovoltaicos de lugares remotos. Un regulador de carga solar es uno de los elementos esenciales en instalaciones fotovoltaicas aisladas. En estas instalaciones es muy importante el buen funcionamiento de las baterias y, para ello, la labor de reguladores de placas solares es crucial. Los reguladores de carga victron son esenciales también en otro tipo de kits, como los de camper.
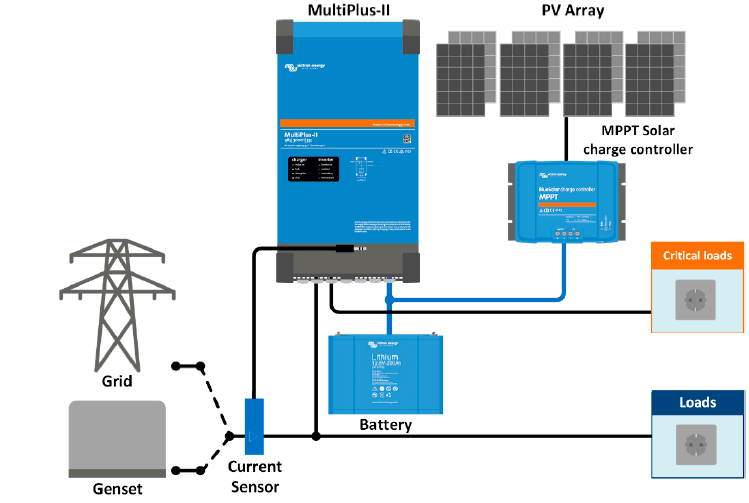
La siguiente imagen muestra un esquema regulador de carga solar:
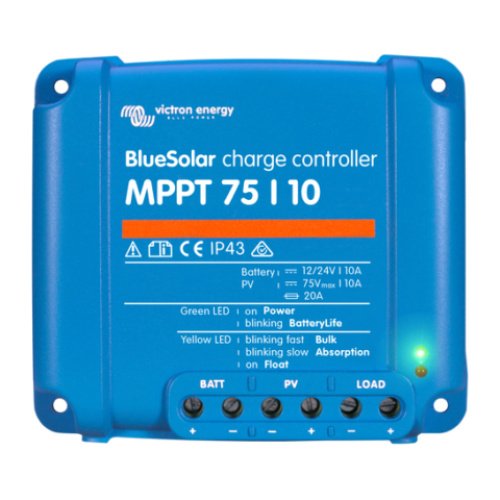
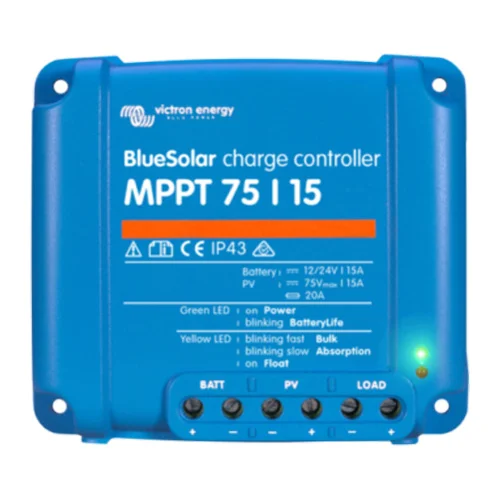
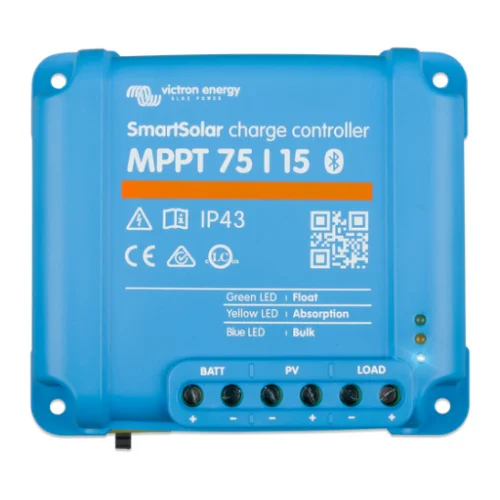
Hay muchos modelos de mppt, si necesitas calcular regulador solar mppt para tu instalación, puedes usar esta calculadora de mppt victron. Esta herramienta te ayudará a encontrar el controlador de carga solar mppt que mejor se adapta a tus necesidades. Los modelos más comunes de mppt solar son: victron mppt 100/30, mppt 75/15 y victron mppt 100/50. En FVComponentes.com tenemos todos los modelos de victron mppt.
Si has entrado a la web de la calculadora de regulador mppt victron, ya tienes respuesta a la pregunta “¿que regulador de carga solar necesito?”, pero puede que están pensando como conectar un regulador de carga solar; en el siguiente apartado resolvemos esta cuestión.
Cómo conectar un regulador de carga
Es muy importante tener en cuenta las secciones de cables en los sistemas fotovoltaicos. Al tratarse de corriente continua a tensiones bajas el cable del regulador de carga debe de ser de mayor sección que en instalaciones de corriente alterna como en las instalaciones en viviendas para consumo habituales.
Si te preguntas como calcular la sección de un cable para la instalación de un regulador solar, en nuestro blog tenemos una entrada que lo explica en detalle. La sección del cable que necesitamos varía según si se trata de un regulador mppt o pwm. Si por ejemplo tenemos un regulador pwm 12v, la sección de cable debe ser la misma desde las placas al regulador solar y a la batería; pero si tenemos un regulador solar mppt hay que calcular la sección del cable según el voltaje de las placas solares y el de la batería, ya que en este caso puede variar.
Esta es una de las grandes ventajas que tienen los reguladores solares MPPT. Al disponer de tensiones más altas en el campo fotovoltaico podemos reducir la sección del cableado fotovoltaico, siendo de mayor sección el cableado entre controlador de carga y acumuladores, porque mppt reducirá la tensión del campo a la tensión de funcionamiento.
Regulador de carga solar
Los reguladores de carga solar mppt o pwm se adaptan de forma automática a las distintas condiciones que marca la batería. El regulador de carga solar también permite regular de forma manual algunos parámetros.
Si te preguntas que es un mppt, es un regulador solar que permite conectar paneles y baterías de diferente voltaje. En cambio un regulador pwm funciona de manera distinta, los paneles solares y la batería de la instalación fotovoltaica deben tener el mismo voltaje para poder usar este tipo de regulador de carga.
Los reguladores fotovoltaicos solar PWM son más simples, hacen trabajar a la tensión de la batería. Se dice que hacen la función de “interruptores” de las placas solares. Un mppt tiene un seguidor de máxima potencia y hace trabajar a la tensión que más le conviene a la batería, según en cada momento. Un regulador mppt es el que saca el máximo rendimiento a los módulos fotovoltaicos.
Como funciona un regulador de carga solar
Estos reguladores son específicos para energía fotovoltaica y se encargan de acotar los límites de carga y descarga. Cuando una batería se encuentra cargada al 100%, el regulador corta la electricidad que va desde las placas solares hasta la batería. Cuando el consumo es mayor que la carga que hay en la batería, y llega al límite de su capacidad, el regulador pwm o mppt intervienen para cortar el consumo que estemos realizando impidiendo la descarga completa de la batería. Lo que hace un regulador de carga solar es controlar la carga y la descarga de la batería.
Los reguladores fotovoltaicos están compuestos por dos entradas y una salida para el consumo. Cada regulador de carga solar tiene una entrada para el positivo y negativo de los paneles fotovoltaicas y una salida para consumo directo a 12V. Si nuestro sistema funciona a 12V solo necesitamos el panel solar, la batería, y el regulador de carga solar, además de tener un consumo 12V.
Regulador solar manual
Si te preguntas como funciona un mppt o un regulador pwm, este es el apartado que estás buscando.
Un regulador fotovoltaico es un elemento que controla la cantidad de energía que les llega a las baterias en un sistema fotovoltaico. El regulador de carga fotovoltaico permite optimizar la instalación de placas solares y alargar la vida útil de estas.
Un regulador solar es muy sencillo de configurar, siempre que se utilice el mppt manual en español. Siguiendo las instrucciones del fabricante del controlador solar, sigues estos pasos para configurar el dispositivo:
- Conectar los cables positivo y negativo del acumulador al controlador solar.
- Determinar el voltaje máximo al que el módulo fotovoltaico debe cargar la batería.
- Establecer en el regulador de carga el voltaje de reconexión para señalar el límite para volver a utilizar el acumulador.
- Delimitar el voltaje de desconexión del controlador de carga fotovoltaico para proteger las baterias de sobredescargas.
- Marcar las horas que la bateria va a estar en uso.
- Comprobar la compatibilidad entre el controlador solar y la bateria.
Una vez configurado el controlador fotovoltaico pueden darse varios problemas. Aunque no son muy importantes, es necesario conocerlos para que si ocurren con nuestro regulador de carga fotovoltaico estemos preparados.
Los problemas más habituales de esta instalación empiezan en las baterias, que puede que no se carguen o se carguen de más. Otro de los problemas que pueden surgir con un regulador de carga mppt o pwm es que la corriente fotovoltaica inversa sea demasiado alta.
Puede ocurrir que se genere menos energía de la esperada y esto afecte al regulador pwm o mppt. Por otro lado, puede que hayamos hecho mal las conexiones generales del controlador de carga.
Pasos a seguir para comprobar el estado del sistema:
- Anula el regulador solar
- Conecta los cables de los módulos fotovoltaicos directamente a las baterias y comprueba su estado.
- Mide la corriente que pasa de los paneles solares a los acumuladores.
Si todos estos pasos funcionan correctamente, el problema será del mppt o pwm, por lo que deberás revisar sus conexiones.
Ventajas de usar un regulador de carga solar
- Protección de las baterias: Evita sobrecargas y sobredescargas, prolongado la vida útil de los acumuladores.
- Monitoreo y control: Proporciona información en tiempo real sobre el estado del sistema, para una gestión más sencilla.
- Estabilidad del sistema: Mantiene el voltaje y la corriente en niveles seguros, protegiendo todo el sistema.
- Evita daños por cortocircuitos, sobrecalentamiento y polaridad inversa.
- Optimización de energía: Asegura que la energía se está usando de manera eficiente, especialmente en controladores MPPT.
Mantenimiento y limpieza de reguladores de carga solar
El mantenimiento del regulador de carga es esencial para asegurar un funcionamiento eficiente y prolongar su vida útil.
- Limpieza: Asegúrate que esté limpio y libre de polvo, suciedad y humedad. Con la ayuda de una bayeta seca limpia la parte exterior del aparato.
- Verifica las conexiones: Revisa que todas las conexiones estén bien ajustadas y libres de corrosión.
- Monitoreo LED: Asegúrate de que las luces indican que el aparato está funcionando de manera correcta. Si la pantalla muestra alguna alerta o código de error, consulta el manual mppt.
- Comprobación del voltaje de entrada: Usa un multímetro para medir el voltaje que entra al aparato desde las placas solares. Asegúrate de que esté dentro de los parámetros que marca el fabricante.
- Comprobar el voltaje de salida: comprueba que los valores son los indicados por el fabricante y adecuados para tu bateria.
- Estado de carga: Comprueba que está cargando correctamente la batería, asegurando el nivel de carga con un multímetro o un sistema de monitorización.
- Inspección de la bateria: Asegúrate de que el acumulador no esté sobredimensionado o descargado en exceso, esto puede dañar la bateria o el controlador de carga.
- Verificación de la temperatura: Revisa si está operando dentro de las temperaturas recomendadas. Evita que se caliente demasiado, esto podría ser un problema.
- Debe estar instalado en un sitio con buena ventilación para evitar sobrecalentamientos.
- Si se detectan componentes dañados o que no funcionan correctamente, hay que reemplazarlos inmediatamente para evitar fallos mayores.


